Friday, December 9, 2011

Painting

Just a few shots of the process of painting "Sunning". The original can be purchased for $150 over at Kandeart.com.  I just figured out a moment ago that you can click the pictures to see them bigger.  Convenient!


I love gouache more each time I use it. It can do things that are very subtle or very bold.

The above is after many new layers of shadow. I was able to thin out the paint to add it in thin washes. I love the extra dimension this can give to the color, it's much less flat.
Everyone loves whiskers.

Especially ones with lovely shaded contours.

End result:

Tuesday, November 29, 2011

Something you don't see every day...

The below is a short film done by Salvador Dali with Walt Disney. It was discovered in 2003 by Roy Disney when he was working on the new Fantasia. It's pretty trippy and has many of Dali's favorite motifs. It's very cool to see what two very talented artists could do together.

Saturday, November 26, 2011

The Bath


I drew this during week three of Human Resources Management class. I had been messing with a pattern of overlapping concentric circles in my doodles a lot lately, and their general shape made them feel like bubbles to me.

This is actually the second bathing walrus I've drawn, the other being this one:


Something about walruses just makes them perfect for lounging happily in bathtubs.

Saturday, October 15, 2011

Variations on the skull

I'm working on improving my drawing skills based on some free pdf-format textbooks. The books are guides to drawing by Andrew Loomis. He's amazing at drawing compelling images and he explains concepts in a very helpful and clear way. I was referred to him by the web site of an artist whose skill with facial expressions had impressed me.

They're so old that they're public domain. You can download them free for your own usage here: link to free books

I'm starting by flipping between "Fun with a Pencil" and "Drawing the Head and Hands". I've been frustrated for a while by my tendency to always draw the same sort of face, so I'm enjoying exploring new information. Loomis is very good at explaining how to bend the "rules" of face-drawing to make faces unique.

Sunday, September 25, 2011

How to paint a cedar

Today I'll show the process I used to paint "Cedar", a commissioned piece done in gouache and ink on watercolor paper.

This was a gift from a husband to his wife to congratulate her on finishing her first novel. The shoes belong to the four main characters in the story.

Here is the finished drawing:


I started with the background. Painting sunsets is pretty easy. I tend to keep lighter colors higher up with the most intense reds and oranges toward the horizon. Keep the paint pretty wet and paint side to side. I blended extensively to get a wide variety of shades and to keep the transitions subtle.

I painted the trunk on top of the sunset once the sunset was dry


Like always I'm painting with gouache. Gouache has many of the benefits of oil, acrylic, and watercolor paints. It can be blended for essentially an infinite amount of time, like oil. It can be opaque like acrylic, and it can be translucent like watercolor.


My palette is in the form of a big color wheel, which makes mixing very easy.

Next up, leaves!


I started with a medium green tone and tried to get the general shape of the foliage. This is a cedar tree, which has branches like this:


To get the pointy effect I'll start by blocking in basic shapes, and then make pointy details with ink.


None of the shapes are terribly precise, just blobby and generally in the shape I want them. Once I've done the medium green I waited for the paint to dry, then went in with a darker green to create shadows.


Once the dark green was dry, I went in with a lighter green to create highlights. The image below reminds me of the paint by number kits I did as a kid.


Here is what the effect ends up looking like on a larger scale:


In the above the ground has also had a thin coat of dark green added. I'll dry brush in some grass in the next step:


Dry brush is a slight misnomer - the brush isn't dry, it's a bit damp. This allows the blades of grass to stay sharp instead of liquid and blurry.


Always use a reference if you want what you're drawing to really look like what it is. I like to remove color information so it's left to my imagination.


Before moving on to the ink part the gouache has to be dried completely. Because I'm impatient I use a box fan to speed up the process.


Dry and moving on! I'm using medium and fine pointed sharpie pens to do all the detail in this piece. In the above image I'm making the leaves look pine needle-ish. I don't draw every needle, just various areas at the periphery to give the illusion of pointy texture.


Shoes!


Texture detail is above. I did some cross-hatched shading on the trunks, finally ending up with the finished drawing:


Sunday, September 4, 2011

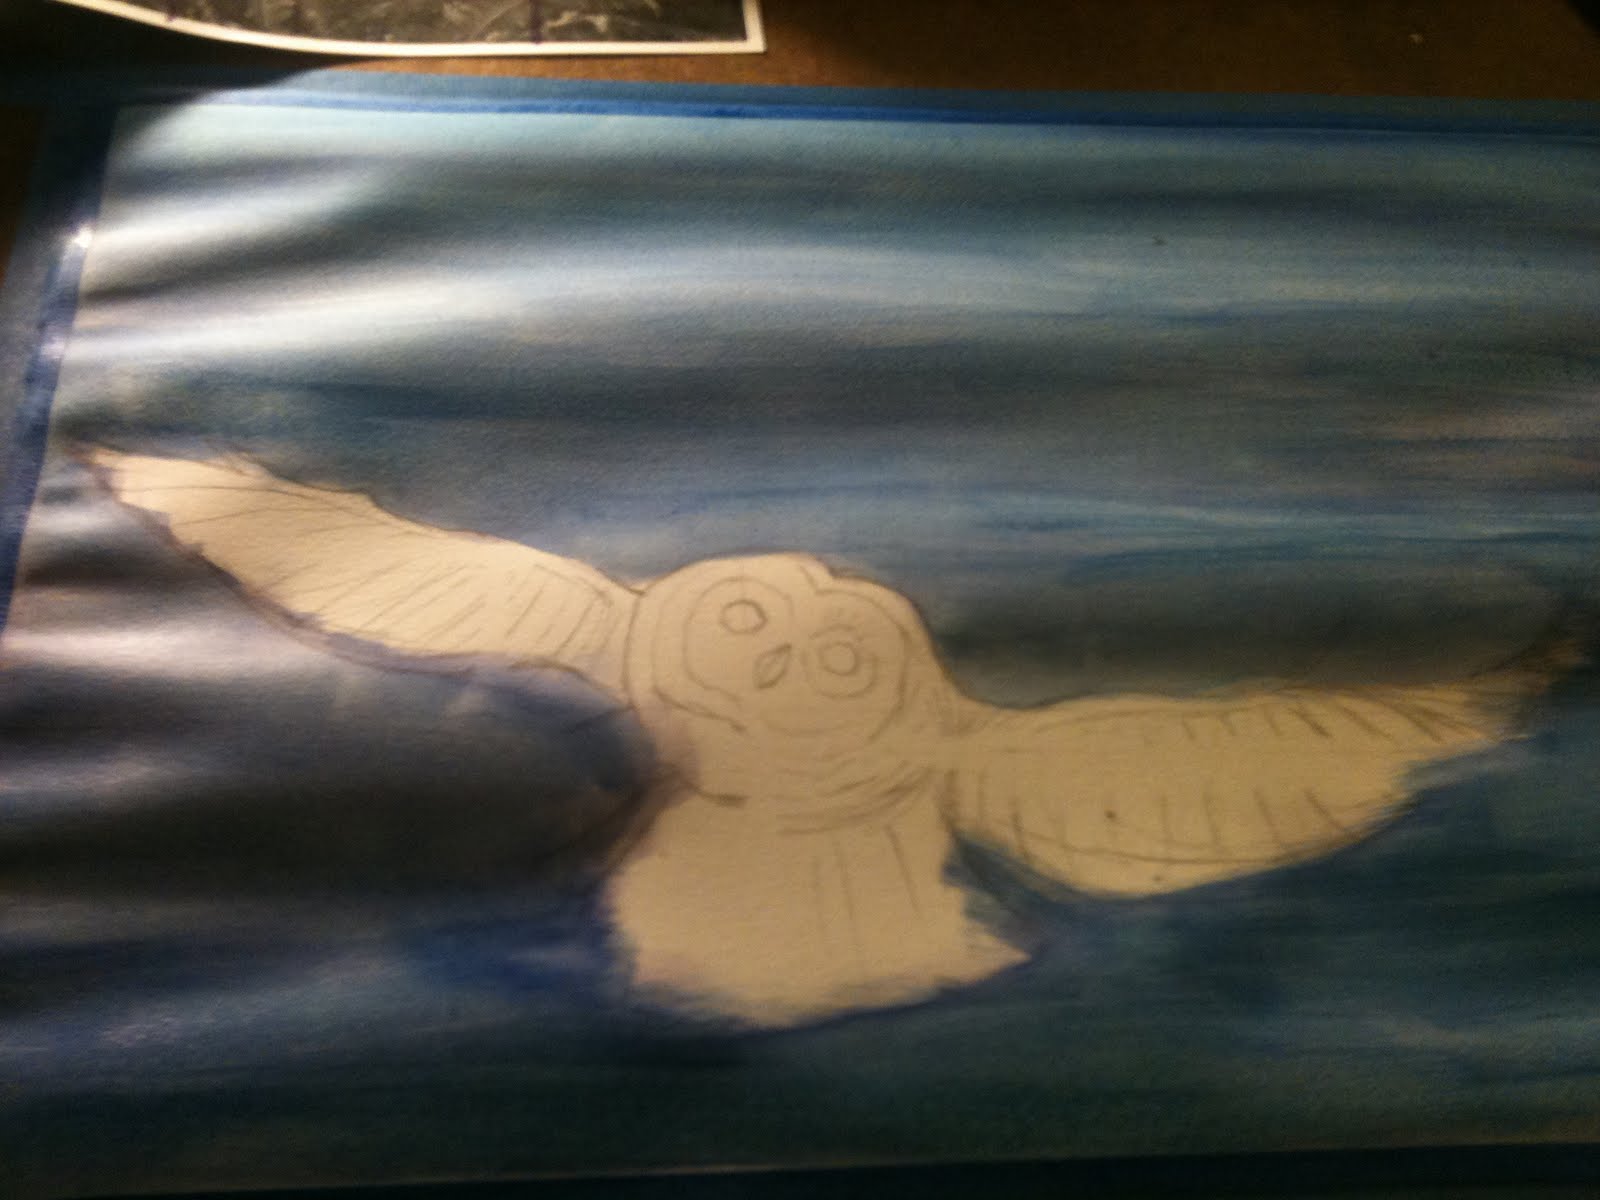
A wise old owl sat on an oak, the more he saw the less he spoke

Painting and taking notes again. Onward!


Gouache in my lovely color wheel palette. It's been a couple weeks since I last painted, but the paints are still wet.


Sketch. I'm using a source image with a grid. I always print them in black and white to negate color information, and the grid helps with shape and placement.


Barn owls have such spooky faces.


This is new watercolor paper. I won't be using it going forward, as it warped something terrible. Eventually the paper had buckled so extensively it actually folded over and creased in spite of being taped to the board on all edges. I'll have to go back to my previous brand.


Trees are usually one of my favorite things to paint, but these all felt very stiff and weird and at the wrong angles.


Warped paper! I was struggling with the foliage and everything else at this point, getting frustrated. I decided enough was enough, this is a painting to not finish.

I really like his wing, though.

Next attempt! I still want to do an owl, but now I'm going to draw with Sharpie pen and color with markers.


Above is the new sketch. Same owl, smoother marker paper. It's less absorbent so you can sort of move the ink around on top of it.


Pencil over ink. I had to be very careful when erasing the pencil from underneath, it can smudge the ink easily on this paper.


Feet! I love crosshatching with black pens.


I decided I really liked the grid, so I'll keep it and make it part of the final drawing.


Inked grid. I used a ruler to keep the lines straight.


I used four shades of blue Prismacolor marker to color the background.


Above is the finished drawing with the tape edges removed. You can buy it at my art site, kandeart.com for $50