Thursday, September 19, 2013

Deep Space

My employer, Epic, finished their User Group Meeting today, which means my cave paintings have finally gone public. For the last several months I worked on a team of eight people to paint authentic-feeling cave paintings in Deep Spacee. Deep Space is Epic's amazing, new, dug-into-the-ground 11,000 person auditorium. It is cave-themed.

This was by far the largest project I've ever worked on. In the past I've done murals with my high school art club, and done extensive solo work. I auditioned to paint in Deep Space thinking maybe I'd paint a normal sized wall, do something large but that would take only a day or two. 

 Instead I found myself in the construction site getting a tour, and being told that we had both stories of the outer wall of the auditorium - approximately 8 feet tall by 1400 feet total. 11,200 square feet minus spaces for doors and water fountains and such, so more like 5,600 square feet.

It was amazing. I had a great time and made some wonderful friends while working on the project. I am very pleased with and proud of my contributions.

So, without further ado, here are the cave paintings I did, some the group did, and my source photos.

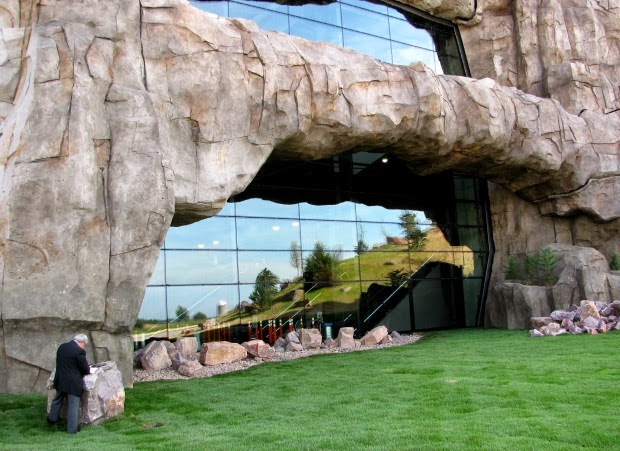
To give you some context, here is what it looks like inside Deep Space:

This is an artist's rendering of what it will look like once the landscaping is installed:

Here we are the first night when we were playing with the paint.  We were doing a group wall of cows, since the cow is sort of Epic's symbol.  Everyone interpreted their own cave cow while men on lifts worked directly behind us installing ductwork and electrical wiring.  Someone else did all the "cavey" background colors, we just had to paint on top of them:


When you work on an active construction site you get your very own extremely attractive hard hat and yellow vest.  Don't pretend you aren't jealous.  


Here are my cave cows with their little friends:

Then I decided to work off of this ancient cave painting on a wall approximately 13 feet by 8 feet:


 Here is my version.  I tried to be as faithful to the original as possible. 

Next I contributed to our group buffalo drawing by chalking in the outlines and layout based on John Bigler's design and painted my own buffalo.  I don't have photos of the whole wall, but here it is in progress:


Buffalo buffalo Buffalo buffalo buffalo buffalo Buffalo buffalo is a grammatically correct sentence.  Here are my buffalo:


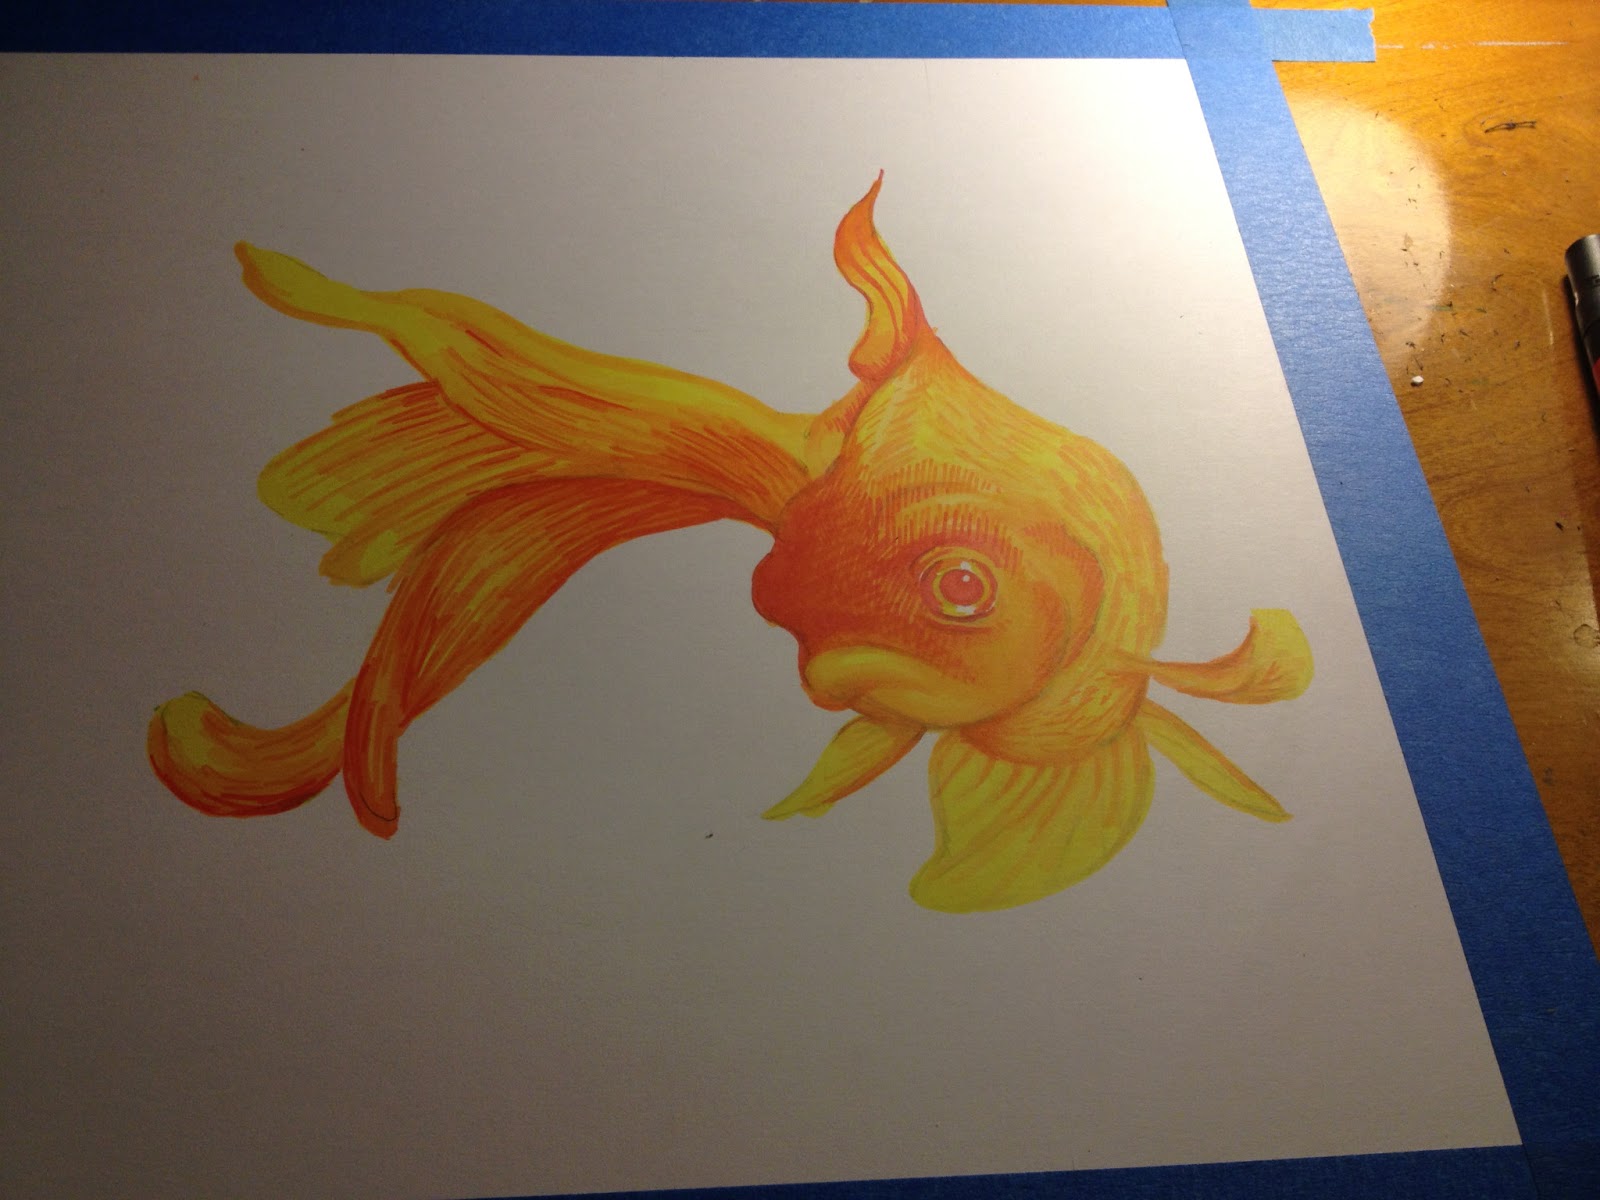
Then I did this dark brown bird on the bird wall.  I feel like he may have come out too tattoo-ish:


Here he is in context:


Next I did a drawing from Algeria of these giraffes and cattle.  Source Image:
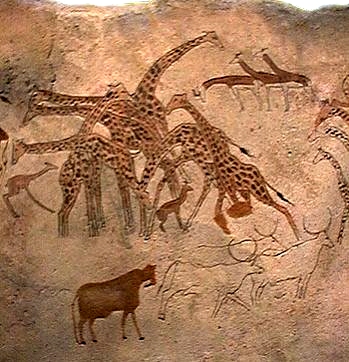

My version: 


I did a set of deer from different sources.  My reference images were: 


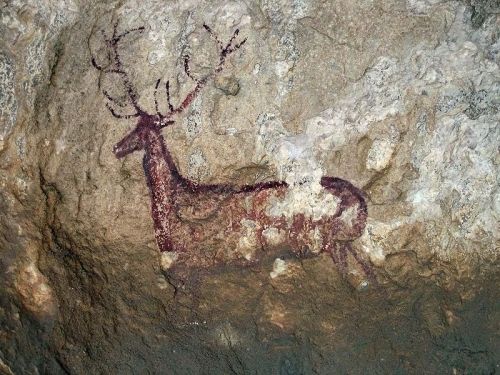
My versions of the deer.  I admit I gave the guy on the right a few extra antler prongs.  I had to do it for Dr. Seuss:


And finally, my favorite, the big goofy rhinoceros.  He is based on this Rhino from the Chauvet cave: 


My version: 

So there you have it.  I hope you enjoyed seeing them as much as I enjoyed painting them.  I will update with photos of the rest of the paintings done by the others on the team at a later date (when I'm not slumming on the laptop).  

Cheers!
Kat

Friday, May 17, 2013

You're like a party somebody threw me, you taste like birthday, you look like New Year

Last weekend a co-worker asked me to come paint a surprise for his daughter. 

She would be turning three, and they planned to take her to a water park for the weekend. She loves The Lorax, so while they're away I came in and painted some truffala trees and The Lorax in her bedroom.

I was very excited for this project.  Dr. Seuss is one of my biggest artistic influences - he was so unafraid to be zany and use lots of color. So, I brought my bucket and paints to Nora's room and got working. 

Always start at the back when you're painting. You can cover things up later but it's hard to add more to the behind. This being the case I began with the tree trunks. 

Then touch ups and fixes. Wet (and even dry) acrylic can be "erased" with a clean, wet, rag.  I reshaped most of these trees slightly.

I sketched my Lorax in pencil first to make sure I got him just right. 


The Lorax is pretty easy to draw. He's basically a lumpy potato with whiskers and eyebrows.

Then, using one color at a time, I filled in the trees and the Lorax. I wanted to minimize color switches as the sink was downstairs.  This strategy limits trips and time spent washing brushes.

In the book the trees have yellow trunks, but my co worker and his wife prefer the white trunks in the movie version. I think the white is quite pretty. It reminds me of aspen trees, which are ubiquitous in Colorado where I grew up. 


Truffalas are easy to paint.  Paint a line.  Then paint a circle.  Then pull off lots of tufts going in a spiral pattern.

I remembered to make one tree not rotate the same direction as the others. Seuss did this in the book, the trees don't all "spin" the same way.  


Then the best part, outlining everything in black! 

Black is so touchy.  The paint I use is heavy body stuff from Liquitex, and it can come out too dry to make smooth ink-like lines.  To get it to flow properly I used both water and a slow-dry acrylic medium. 

The two act to thin the paint so it's easier to work with.  It can be hard to get the ratio of paint to water and slow-dry just right.  Sometimes the paint gets too thin or too thick, and you're always having to mix up more.
I somehow managed to drive the 15 or so miles to the painting location without bringing along a single round brush.  So I painted everything here with flat brushes, the smallest being about 1/2 inch.  It was a bit difficult at times, but it allowed for little curved flairs that were very satisfying.

He has no pupils so he looks like the Lorax of the Damned.  Had to wait for the whites to dry.


EVIL LORAX IS WATCHING YOU SLEEP.

I sat on the floor to do the low bits.  Here's the view looking up.

Here, looking decidedly less demonic:


And finished!


Nora approves!


My co-worker sent me this photo of the room all done up with the bed.  It even matches the blanket!

Thursday, April 11, 2013

Cave Drawings

My job is having a cave art contest and I aim to make a good showing in the competition.

These are all Prismacolor marker on manga paper.  They're all based on famous ancient cave drawings.  I'm honestly having so much fun I might just keep doing cave drawings forever.


Saturday, March 9, 2013

The making of a goldfish


I almost always begin with mechanical pencil and a grid.


Just trying to nail down shapes and placement plus a few important details


The eyes are my favorite, I like to do them first. 


Coloring in short strokes to make it feel like scales.  I'm using eight shades of red, orange, and yellow.


I debated just stopping here.  I like how the left isn't at all finished.  But on we go!


My source image is black and white.  I'm just playing with color and idealism.


Did lots of hatching in the blue.  Greens and shades of light blue.  Subtle in the end once I got all the light blue background filled in. 


I always tape my paper to the table with blue painter's tape.  It keeps it flat and still and creates a nice white border.  


Who wouldn't want to kiss that mug?


Pull tape very slowly at a right angle to avoid stripping layers of paper.

Et voila!